> ## Documentation Index
> Fetch the complete documentation index at: https://docs.samplehc.com/llms.txt
> Use this file to discover all available pages before exploring further.
# Salesforce
> Learn how to connect your Salesforce account to Sample.
## Overview
The Salesforce integration allows you to sync data between Sample and your Salesforce instance. This guide walks you through setting up a new Salesforce connection.
## Prerequisites
* A Salesforce account with API access
* Admin access to your Sample organization
## Recommended: Create a dedicated service account
We recommend creating a dedicated Salesforce service account for the Sample integration rather than connecting with a personal user account. This ensures the connection is not tied to any individual employee and provides better access control.
To set up a service account:
1. In Salesforce Setup, create a new user (e.g., `sample-integration@yourcompany.com`)
2. Assign a profile or permission set with the following minimum permissions:
* **API Enabled** — required for all API access
* **Read** access on any objects you want Sample to sync (e.g., Accounts, Contacts, Opportunities, Cases)
* **Create**, **Edit**, and/or **Delete** on objects you want Sample to write back to
3. Avoid granting **Modify All Data** or **View All Data** unless necessary — scope permissions to only the objects and fields Sample needs
4. Use this service account's credentials when logging in during [Step 5](#step-5-log-in-to-salesforce) below
## Setting up a connection
### Step 1: Navigate to the Salesforce integration
Go to [Settings > Integrations > Salesforce](https://app.samplehc.com/settings/integrations/salesforce) in your Sample dashboard.
### Step 2: Create a new connection
Click **New connection** to begin setting up a Salesforce connection.
### Step 3: Enter your Salesforce domain name
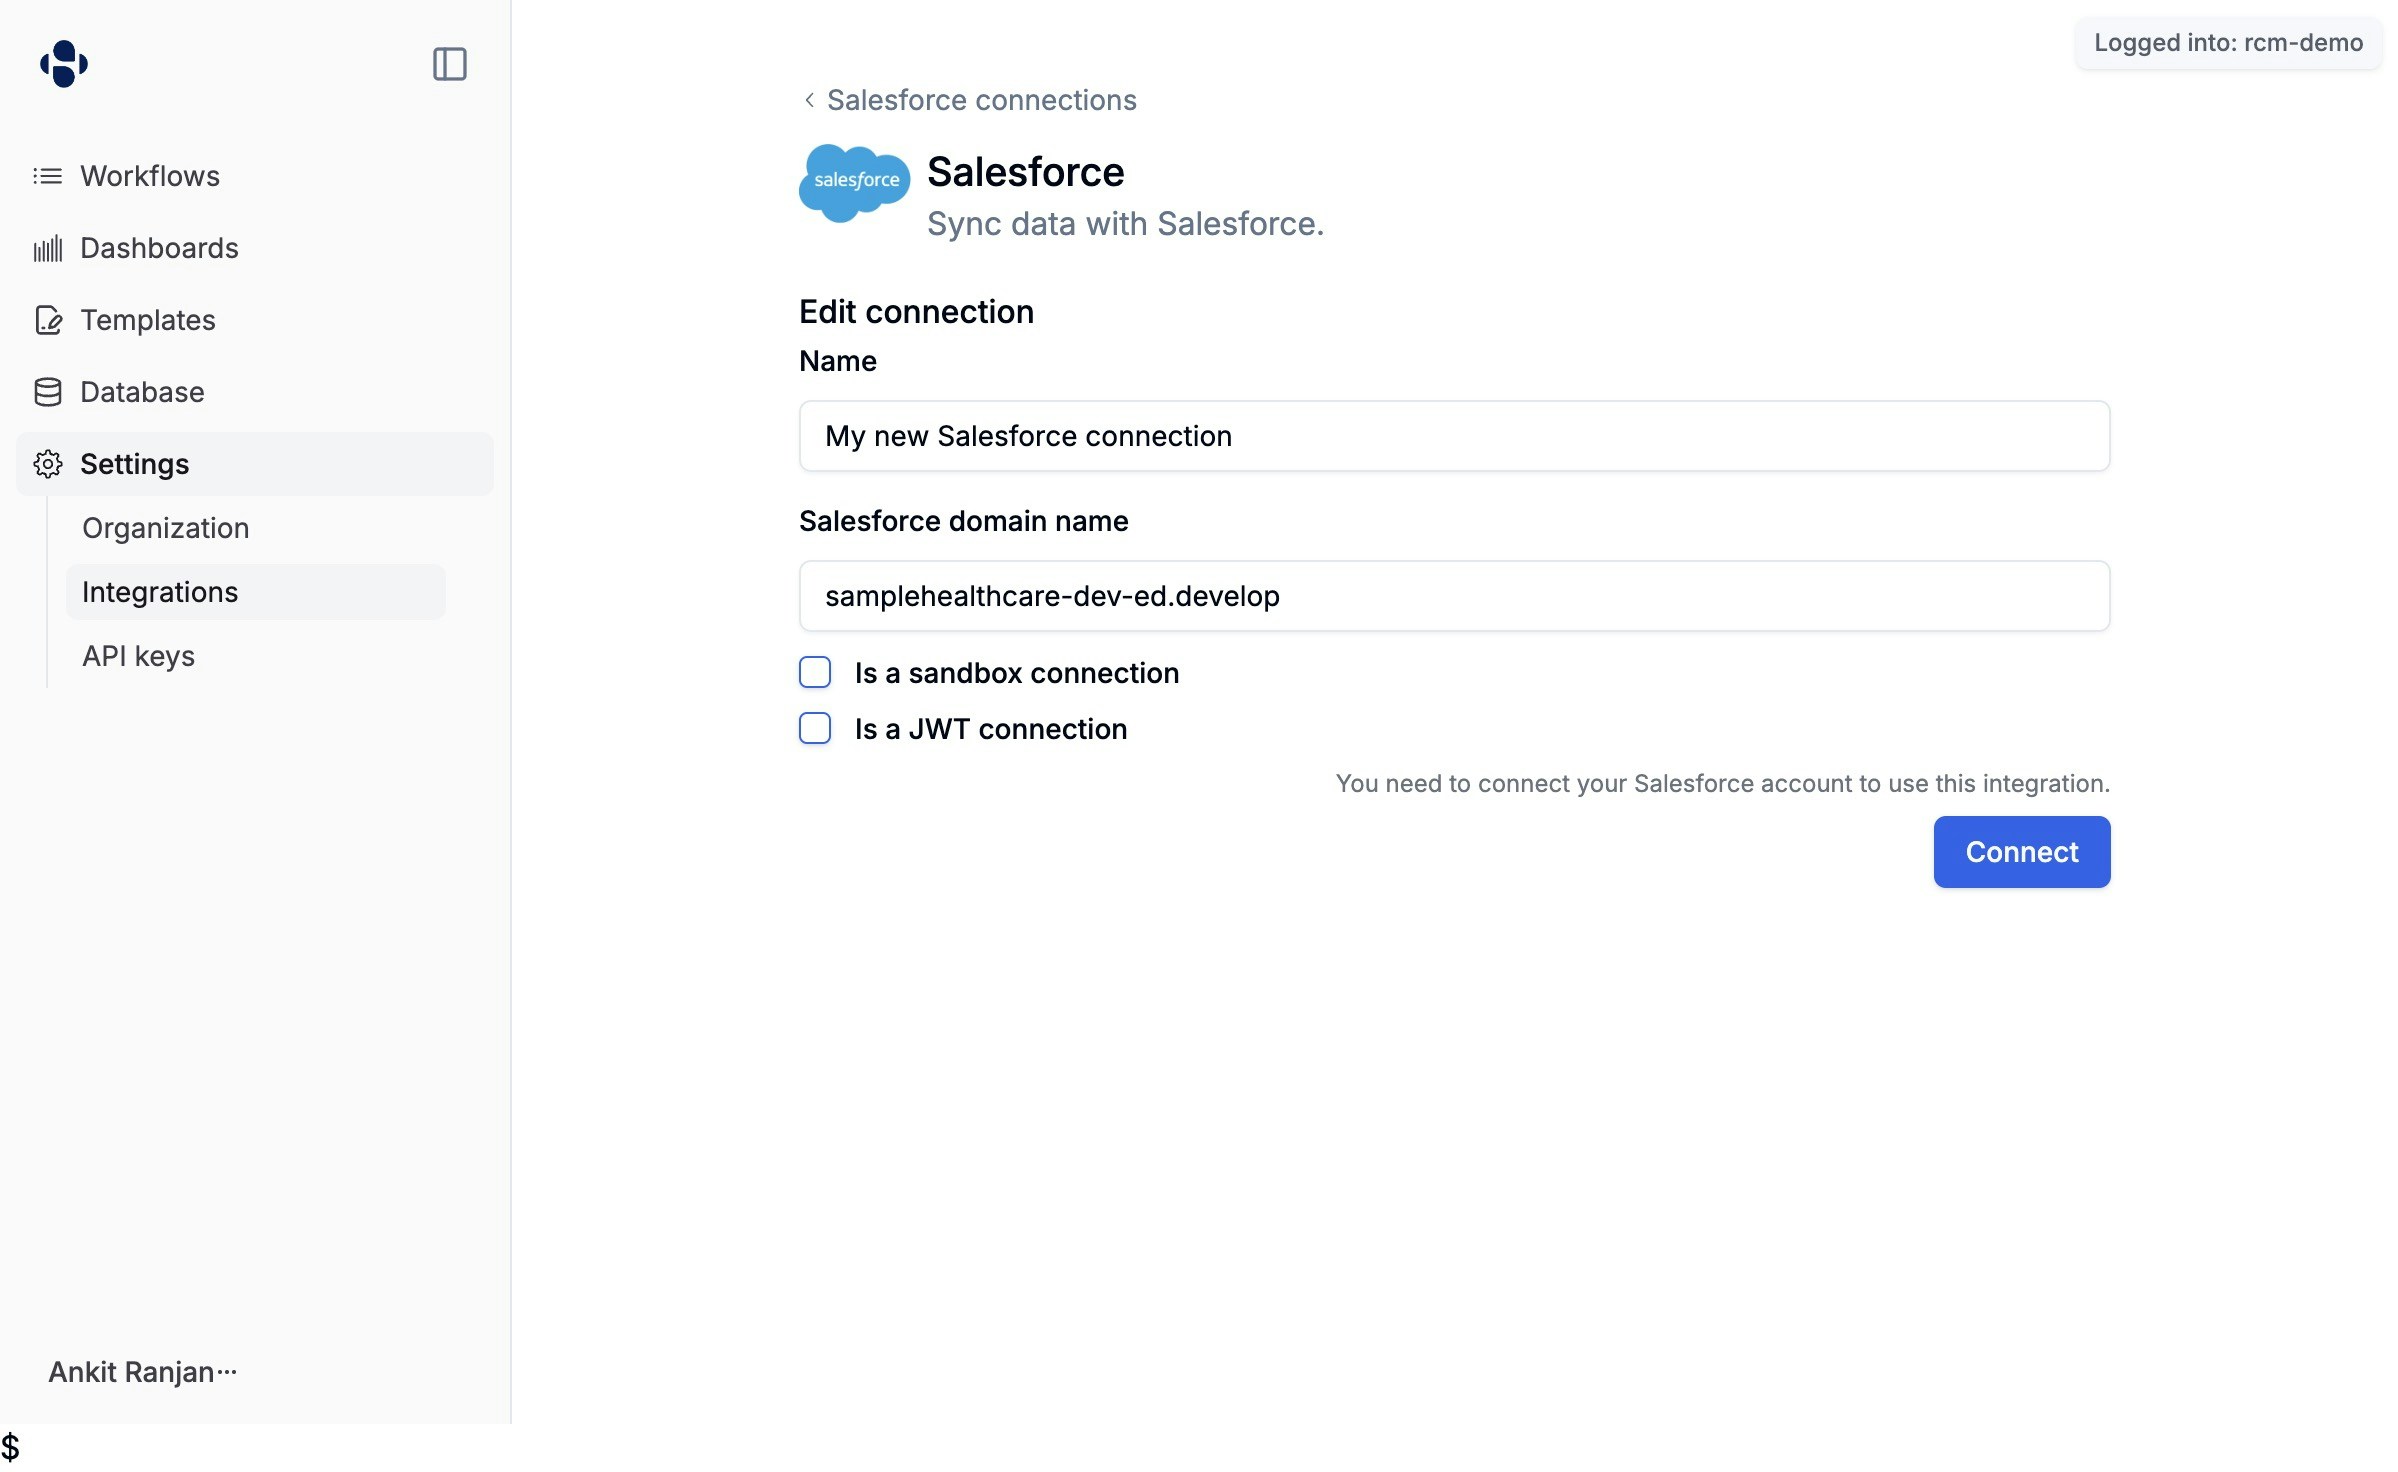
In the **Salesforce domain name** field, enter your Salesforce domain prefix. This is the subdomain of your Salesforce instance (e.g., `samplehealthcare-dev-ed.develop`).
 ### Step 4: Enable sandbox mode (if applicable)
If you are connecting to a Salesforce sandbox environment, check the **Is a sandbox connection** checkbox.
### Step 5: Log in to Salesforce
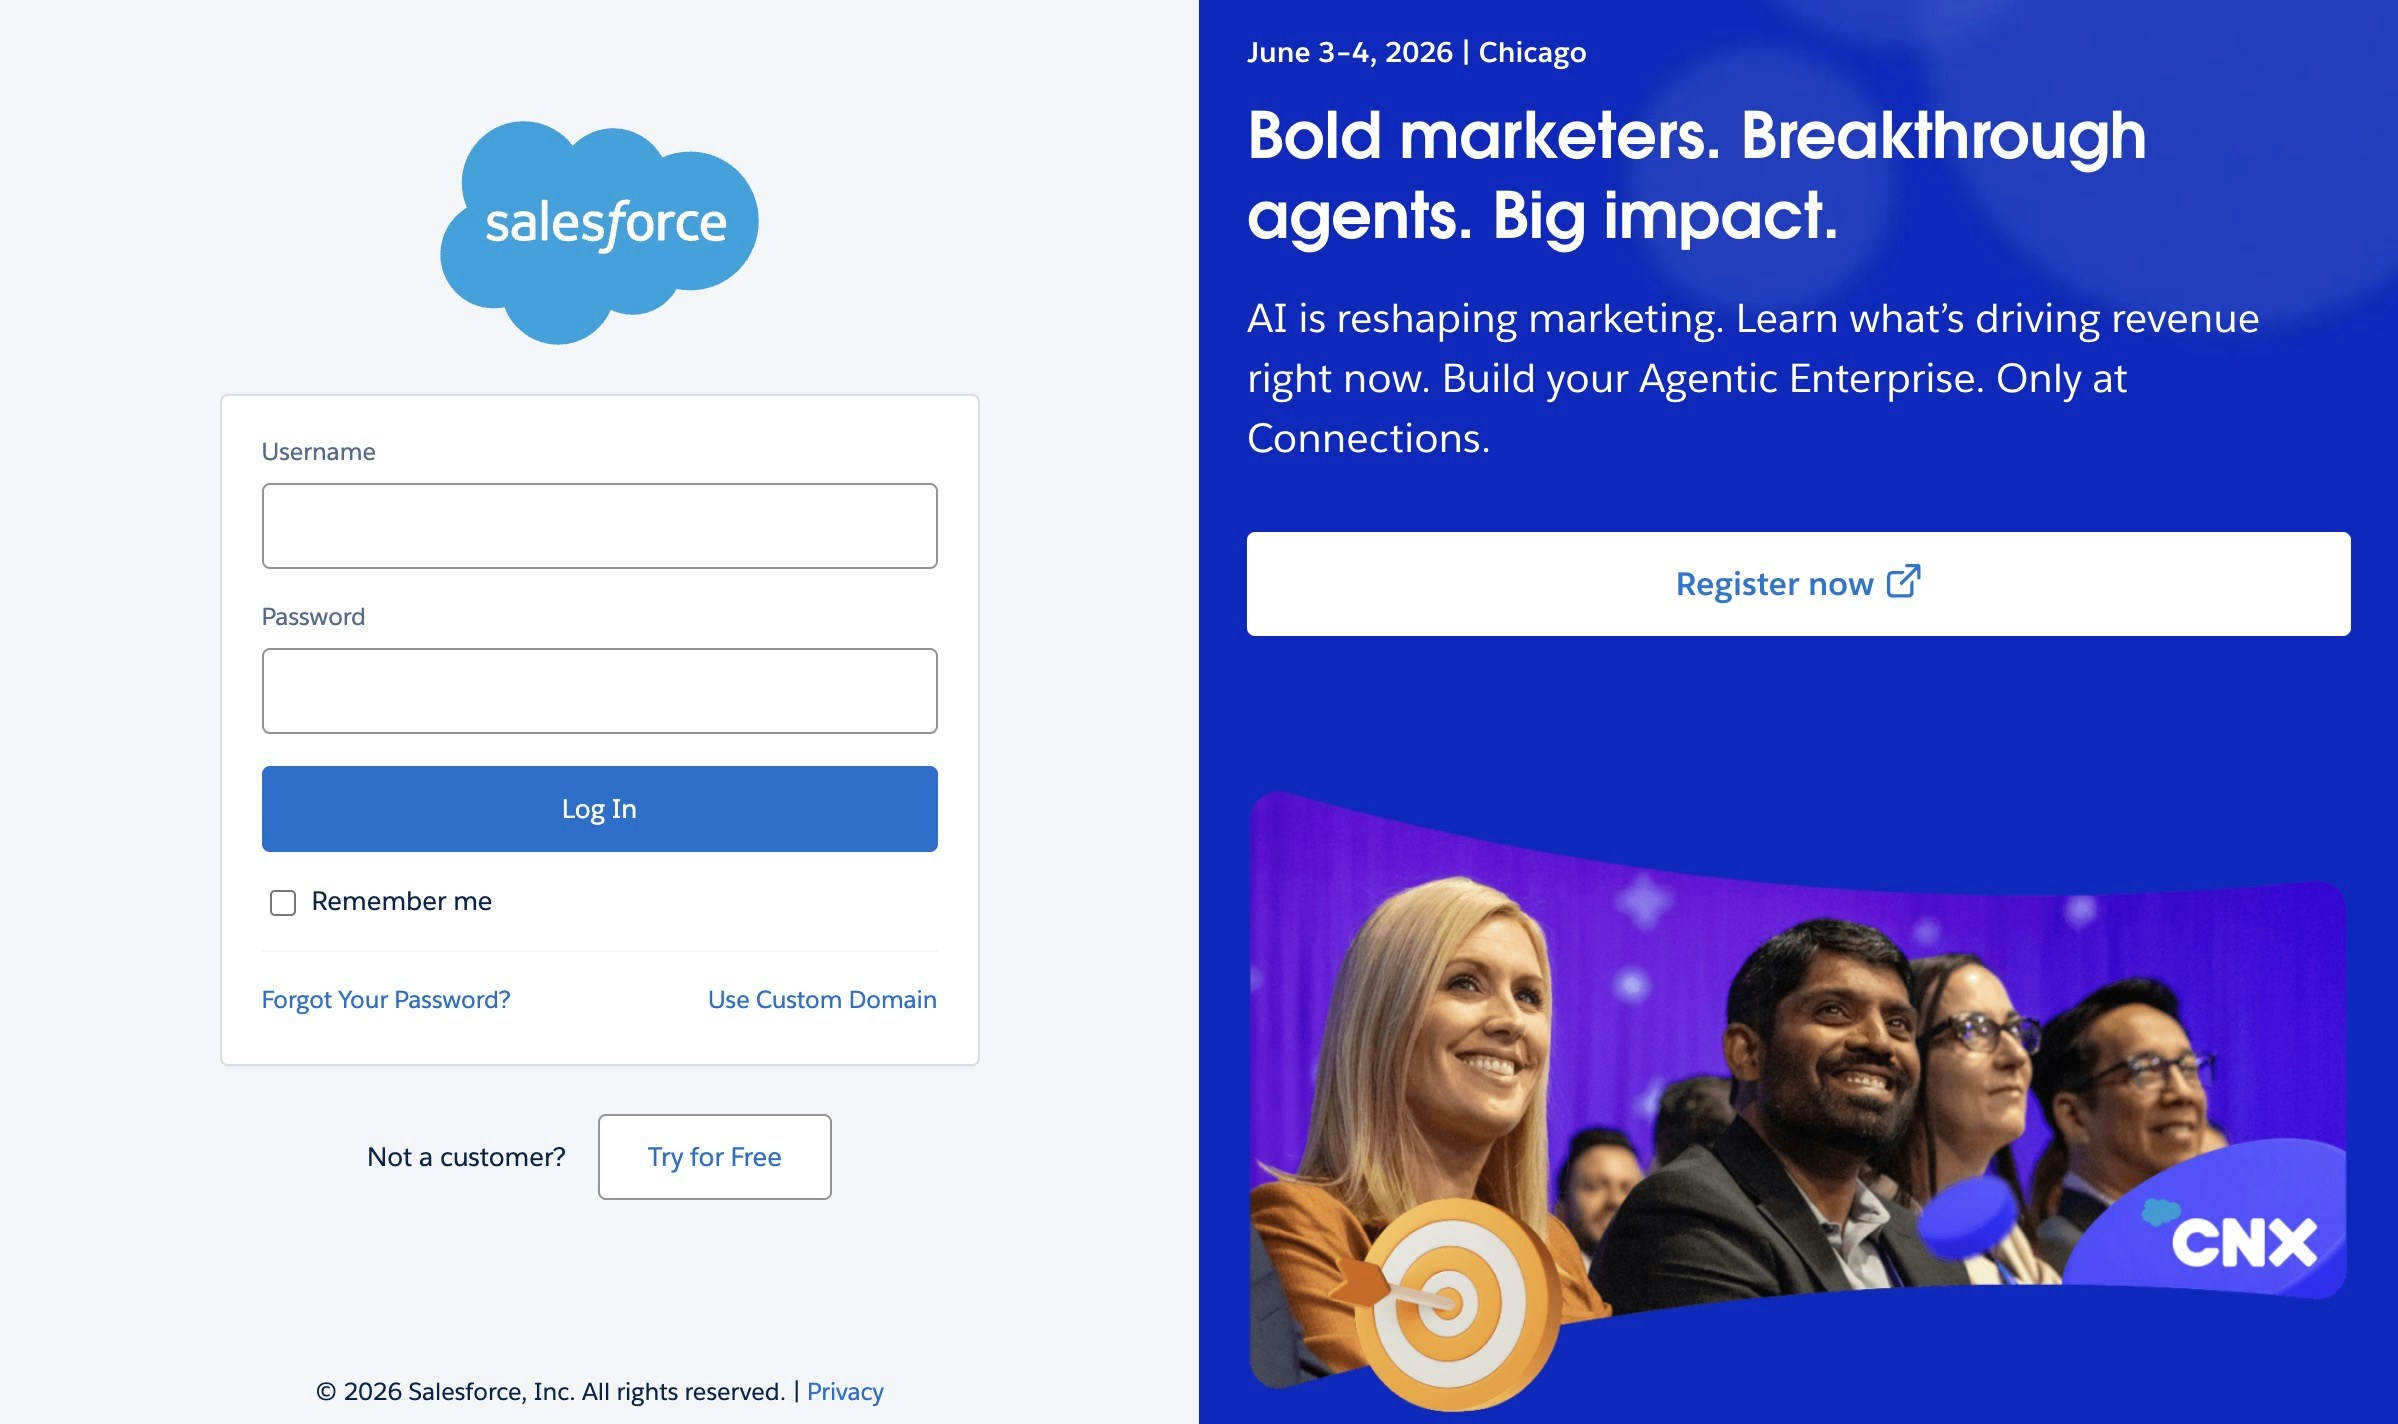
Click the **Connect** button. You will be redirected to the Salesforce login page. Enter your Salesforce username and password, then click **Log In**.
### Step 4: Enable sandbox mode (if applicable)
If you are connecting to a Salesforce sandbox environment, check the **Is a sandbox connection** checkbox.
### Step 5: Log in to Salesforce
Click the **Connect** button. You will be redirected to the Salesforce login page. Enter your Salesforce username and password, then click **Log In**.
 ### Step 6: Authorize the connection
After logging in, Salesforce will ask you to authorize Sample to access your account. Review the permissions and confirm.
### Step 7: Verify the connection
Once authorized, you will be redirected back to Sample. The connection page will show your connected account, confirming the integration is active.
### Step 6: Authorize the connection
After logging in, Salesforce will ask you to authorize Sample to access your account. Review the permissions and confirm.
### Step 7: Verify the connection
Once authorized, you will be redirected back to Sample. The connection page will show your connected account, confirming the integration is active.
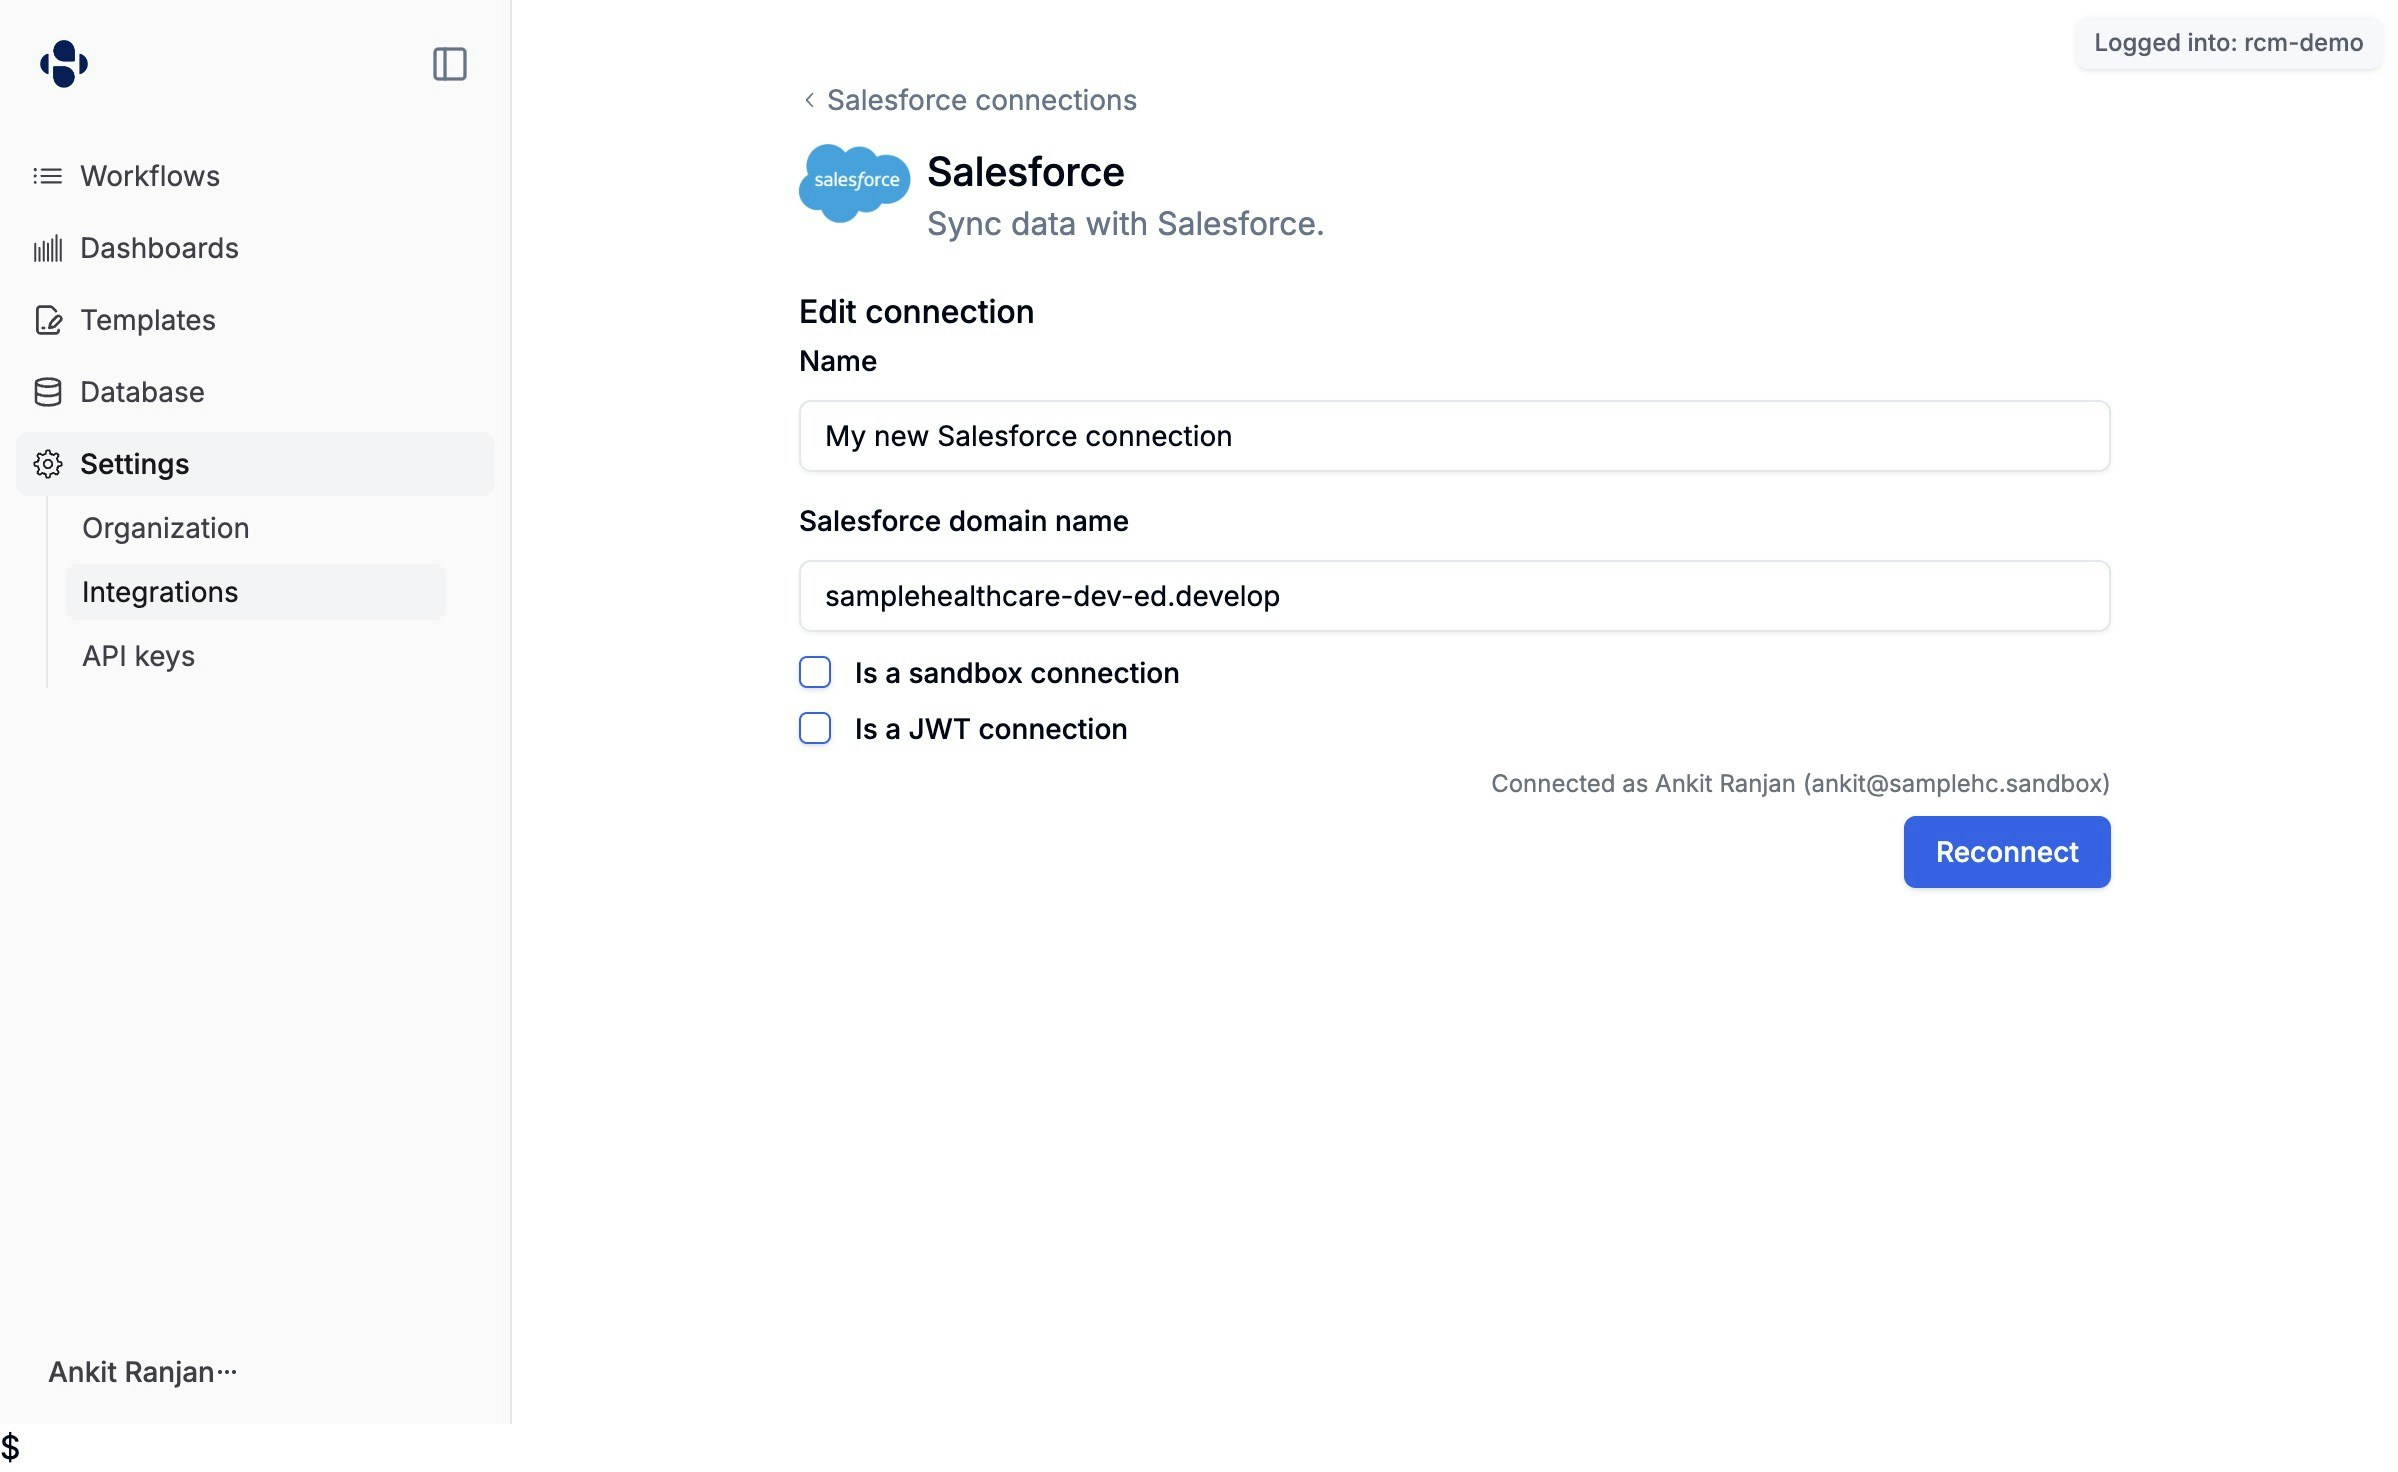 You should see a message like **Connected as \[Your Name]** along with a **Reconnect** button, indicating the connection was successful.